Genshin 7.2: Rowdy Beast Host guide and 3 medals
Published on · Updated on
Three Volkodlaks rotate daily in Novokitezhgrad: unlock the Rowdy Beast Host, break its 30-second Ward and clear all three medals in Genshin 7.2.
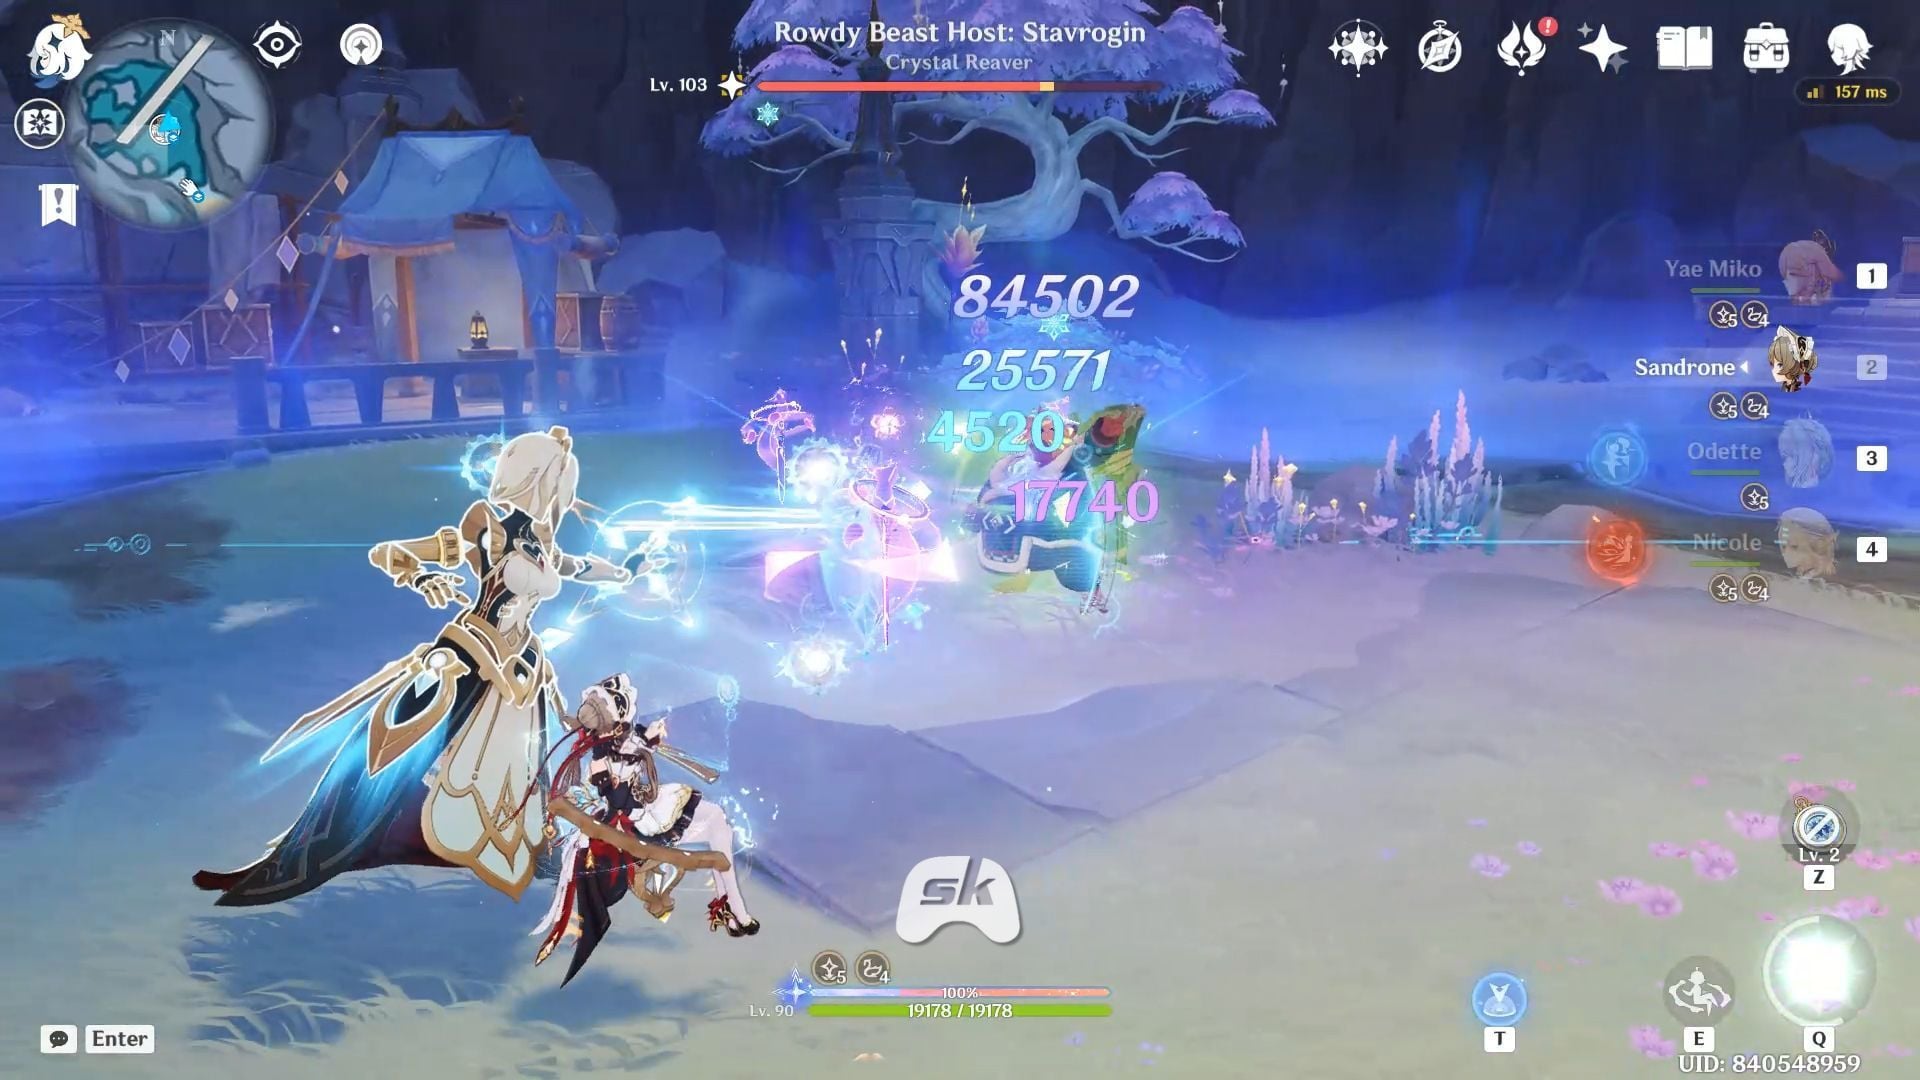
The Rowdy Beast Host turns a crystal-thief ambush into the most technical fight of Genshin Impact 7.2, the "Hour of Ruin" update released on November 4, 2026. The Local Legend waits in Novokitezhgrad, Snezhnaya, only spawns after the Curious Light World Quest, and pits players against three Volkodlaks — Stavrogin, Varvara and Verkhovensky — one per daily cycle. The encounter has two phases, a Ward that lasts around 30 seconds and a total payout of 60 Primogems split across three Valiant Chronicles medals.
This guide covers location, unlock requirements, a phase-by-phase walkthrough, dodge windows, the best teams and what to do when the Fraternal Aid shield does not go down in time. Information was cross-checked against the enemy entry on the Alioth database, Game8's guide, Sportskeeda's coverage and HoYoverse's official 7.2 press release.
Where to find the Rowdy Beast Host
The boss sits in Novokitezhgrad, Snezhnaya's underground city, northwest of Downtown Novokitezhgrad. The arena is inside the cave beside the large waterfall in the northern part of the map: leave the central Teleport Waypoint, follow the rock walls and head to the clearing where the stolen Kresnik Kristall was stashed. There is no climbing involved — the route runs through the city itself and ends in a closed area, which makes the trip from the waypoint short.
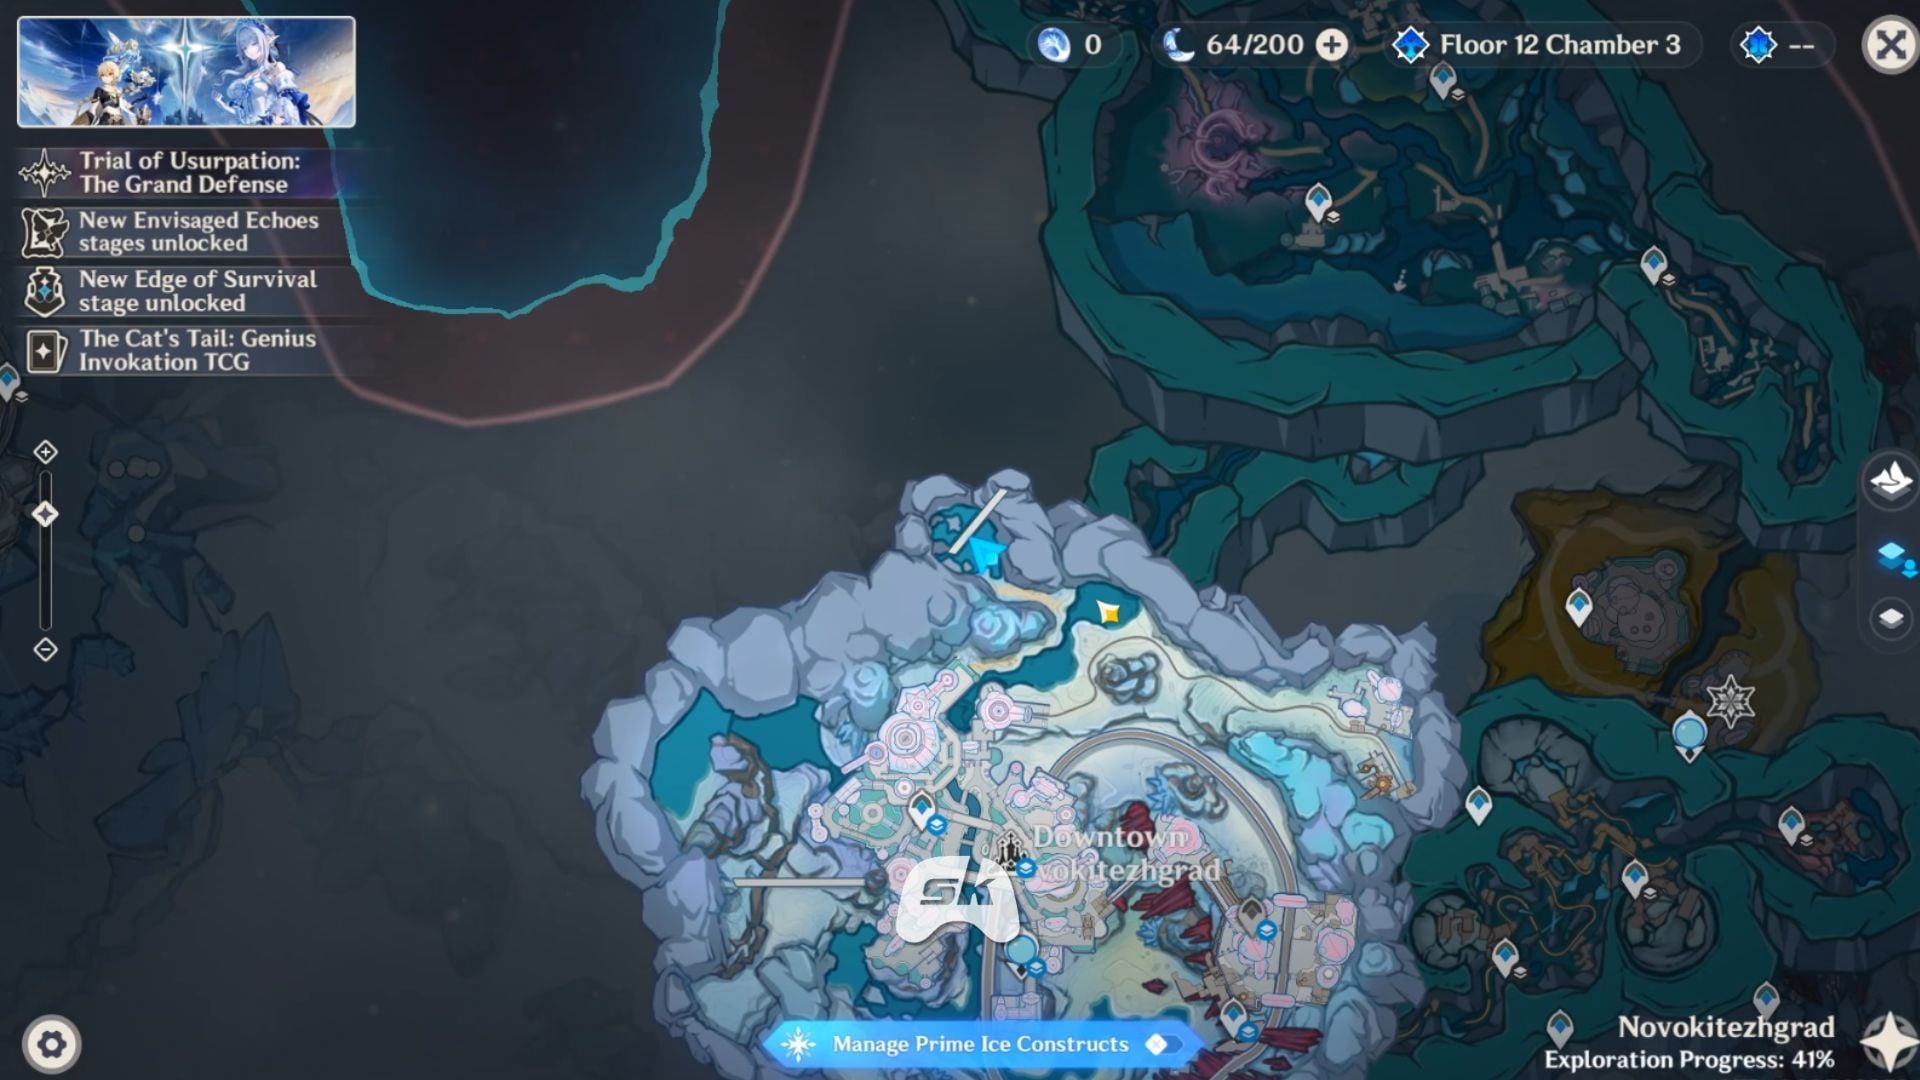
If the Local Legend icon does not show up on the map, the reason is simple: the area stays locked until the World Quest is finished. It is also worth dropping a Portable Waypoint near the entrance, because the third medal requires returning on different days — and the underground walk is not short.
How to unlock it: Curious Light in four steps
The Rowdy Beast Host only spawns after Curious Light, a short World Quest that belongs to the Crystal City in the Gorge's Depths chain. Before that, players must finish Let Not All Rivers Run Dry. Without the prerequisite, the old miner simply will not offer the quest.
- Talk to Gudi, the old miner standing near the stairs in downtown Novokitezhgrad (also described as south of Maryyushka's Antykvariat). He mentions a light blinking in strange patterns.
- Head to the special train tracks and follow the clues left in the snow.
- Inspect the overturned cart and follow the trail of fallen Kresnik Kristall. The more crystals on the ground, the closer you are to the stash.
- Report to the Transport Bureau. A short Paimon cutscene ends the quest and opens the arena — the boss appears on the very spot where the crates were found.
"Long, short, long... Long, long, short... It's almost like someone's trying to send a message with that light!"
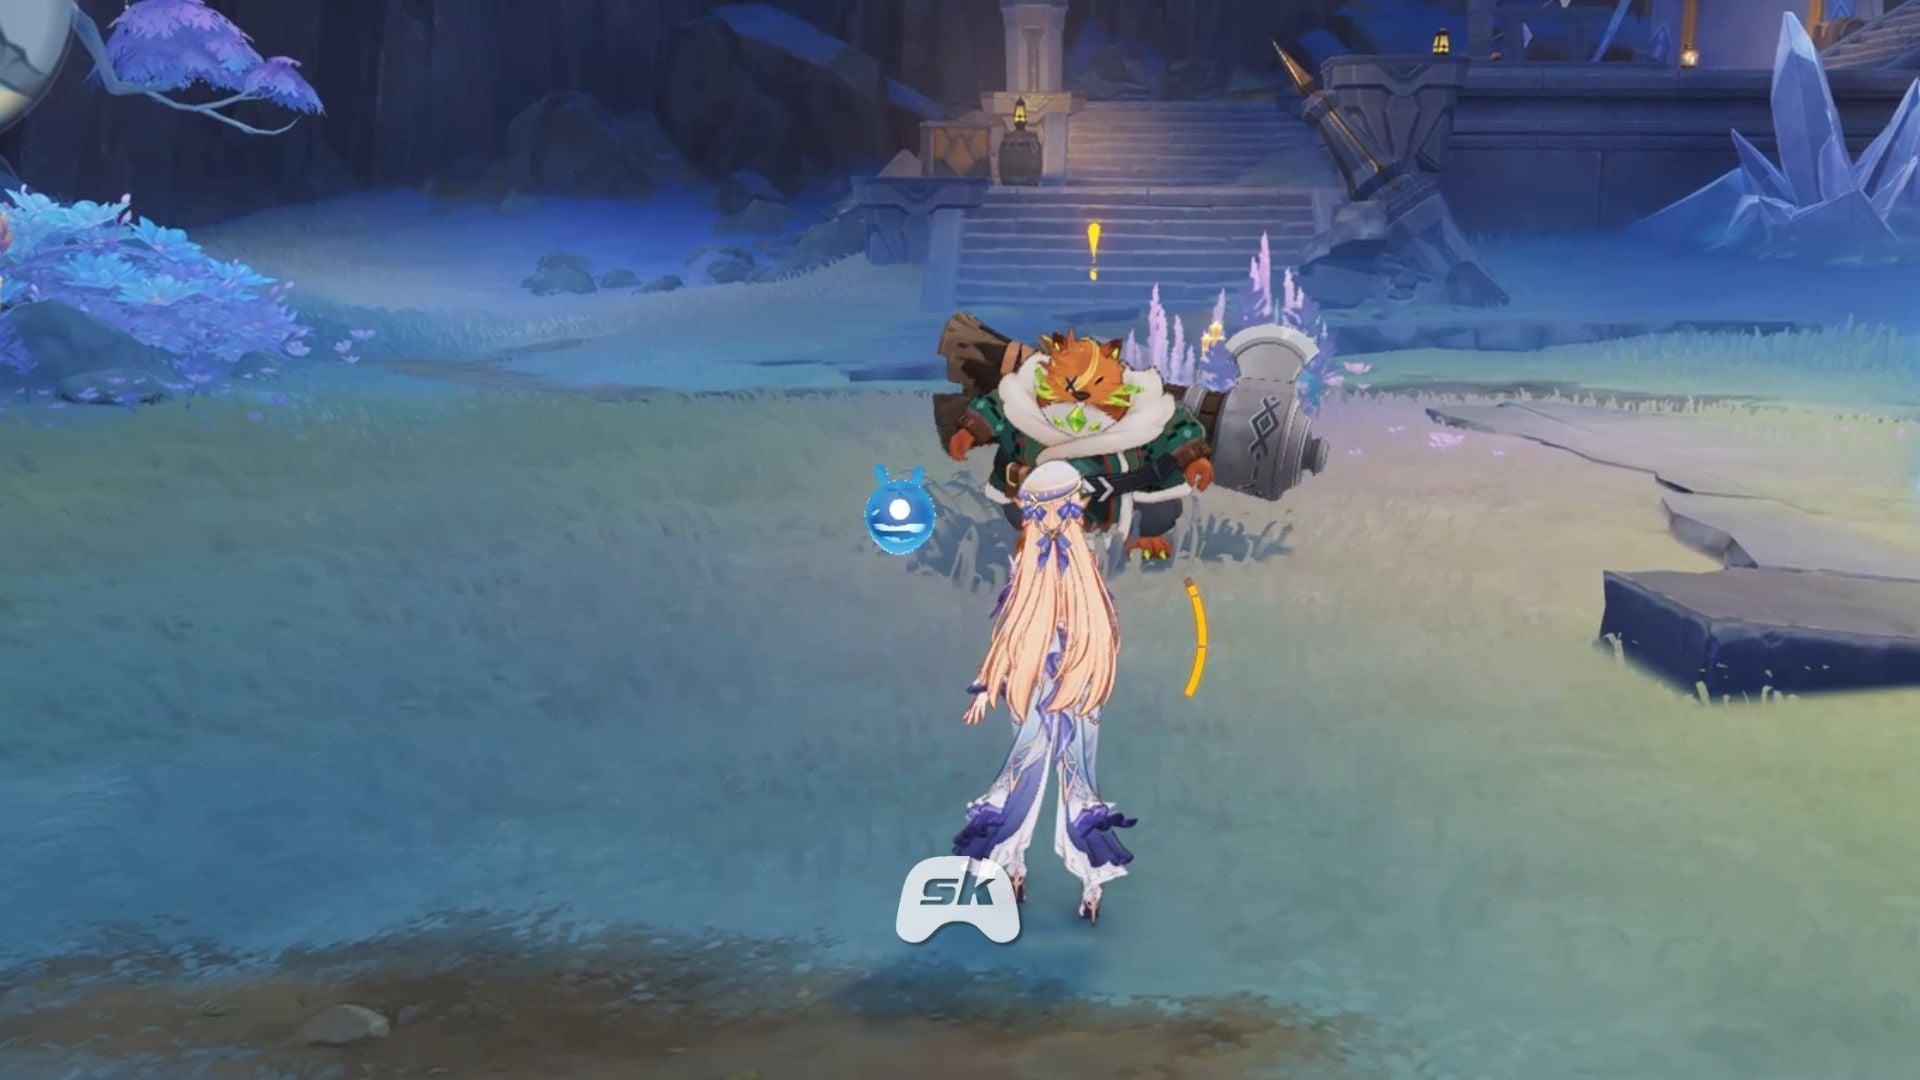
The quest does not require defeating the boss: it ends before that. Use the moment to swap teams, equip weapons and review artifacts before entering the arena, because the fight starts as soon as you approach the Volkodlak already waiting inside.
Three leaders, one per day
Unlike most Local Legends, the Rowdy Beast Host is not a single enemy. The encounter rolls one of the three Volkodlak brothers each daily cycle, and you can only face the next one after the server reset at 04:00. The leader's name appears on top of the health bar as "Rowdy Beast Host: Stavrogin", "Rowdy Beast Host: Varvara" or "Rowdy Beast Host: Verkhovensky", with the Crystal Reaver subtitle.
| Leader | Level | Approximate HP |
|---|---|---|
| Stavrogin | 103 | 3.84 million |
| Varvara | 103 | 3.47 million |
| Verkhovensky | 103 | 4.75 million |
The reinforcements that join the second phase are three distinct Volkodlaks — a Leomastiff, an Arctichare and a Beaver — with roughly 1.15 million, 840,000 and 929,000 HP respectively. That type difference is what changes the shield format, not the leader's name.
Phase 1: the leader alone (100% to 50%)
The fight opens with a single enemy on the field. It uses the regular Volkodlak toolkit seen across the region — charges, spins and telegraphed area hits — with no boss-exclusive moveset listed in the game's enemy data. What changes the encounter is Fraternal Aid, and it only shows up when the health bar hits the halfway mark.
There is a hard rule in this first phase: the leader cannot be killed before 50%. Even a hit that would empty the entire bar will not kill the Volkodlak — the game holds the death and forces the transition. Any damage beyond the halfway point is wasted unless your cooldowns are ready for what comes next.
In practice, phase one serves three purposes: refilling burst energy, keeping the team away from walls and reaching 50% with the most important abilities available. Hold the big bursts. Dumping everything at the start is the most common mistake made by players who miss the shield medal.
Phase 2: Fraternal Aid and the 30-second window
At 50% HP the leader calls the other two pack members and raises a Ward — a barrier that blocks direct damage and forces a target switch. The enemy entry lists 30 seconds of duration; some guides cite around 35 seconds, likely measured in live play. Either way, it is a short window with no room for error.
The shield comes in two formats, defined by the leader's type:
- Damage-absorbing shield (Leomastiff): absorbs damage equal to 30% of max HP. It is not reduced by the Stellar reaction ratio.
- Hydro shield (other types): has 48 units. While affected by Stellar reactions, Electro, Anemo and Cryo attacks drain it at a 1:4 ratio.
While the barrier is up, the Volkodlaks also emit a repelling effect that pushes the active character away when they get too close. That hurts melee combos and rewards off-field damage: totems, summons and continuous elemental application keep working while you step away from the push.
What happens if you break the shield — or fail
Breaking the Ward before the timer runs out has two good consequences: every enemy is stunned and takes -50% RES for 15 seconds. That is the biggest damage window in the fight and the right moment to unload the burst you saved.
If time expires, the opposite happens: all enemies restore HP and gain increased ATK. The fight continues, but it gets longer and more dangerous — and, for medal purposes, the attempt does not count. The visual cue is clear: if the Volkodlaks are stunned, it worked; if the leader healed, it did not.
"A small gang of three Volkodlak. They spend their days roaming Novokitezhgrad, skulking around the mining districts for chances to steal freshly unearthed Kresnik Kristall and sell it on the black market."
Step-by-step walkthrough
- Check the leader's name before attacking and note which variant you already cleared with a shield break.
- Phase 1: keep damage steady but save bursts and energy. Do not spend an 80-energy burst for 3% of the bar.
- At 50%, stop focusing the leader and set up the Stellar reaction. The shield appears within moments.
- As soon as the Ward appears, apply Cryo/Electro/Anemo to trigger Stellar Conduct and drain the barrier. Favour off-field abilities to bypass the repulsion.
- Confirm the stun. If all three become vulnerable, the break worked and you have 15 seconds of reduced RES.
- Kill them one at a time. Every Volkodlak removed leaves the field and lowers the pressure — start with the lowest HP.
- If the shield fails, teleport out instead of killing the variant, so you can retry the same day.
- Come back after the 04:00 reset until you have faced all three leaders with a recorded break.
Best teams for the Rowdy Beast Host
The difficulty is not raw damage — it is breaking the Ward in a few seconds. Stellar Conduct teams are the shortest path, because the reaction speeds up the Hydro shield drain and helps cancel Fraternal Aid. Lunar, Freeze and consistent elemental compositions also work.
| Composition | Why it works |
|---|---|
| Sandrone, Yae Miko, Odette, Alyosha | Very high Stellar Conduct damage: melts HP and shield in the same rotation. |
| Mitya, Yae Miko, Odette, Valeriy | Mitya converts Superconduct into Stellar-Conduct; Valeriy shields and buffs Electro. |
| Cryo Traveler, Qiqi, Beidou, Diona | Budget option: Cryo Traveler enables the reaction, with healing and survivability. |
| Skirk, Escoffier, Furina, Shenhe | Freeze: strong against the Hydro version of the Ward. |
| Flins, Nefer or Zibai + Columbina, Ineffa, Lauma | Lunar reactions with frequent elemental application. |
A full Stellar team is not mandatory. A strong team with access to the reaction is enough: Cryo Traveler can slot in as the fourth pick to enable Stellar Conduct in any Electro or Anemo setup. What matters is frequent elemental application during the shield phase, not one huge hit.
Rewards and the three medals
The Rowdy Beast Host Valiant Chronicles pay 60 Primogems in total, plus Mora and talent books. Each objective is independent, but all can be completed in a single fight — except the third, which depends on the daily leader rotation.
| Objective | Reward |
|---|---|
| Defeat Local Legend Rowdy Beast Host | 20 Primogems + 3 Accreted Growth |
| Defeat the Rowdy Beast Host after interrupting "Fraternal Aid" | 20 Primogems + 25,000 Mora |
| Defeat the Rowdy Beast Host after interrupting every "Fraternal Aid" attempt | 20 Primogems + 3 Guide to Charity |
Rewards are collected from Katheryne at the Adventurers' Guild, under the Valiant Chronicles tab. Check progress after every attempt: that is where the game records which leader was already defeated with a shield break.
Mistakes that cost you a full day
- Killing the variant without breaking the Ward. The fight counts as a win, but the medal does not. Leave the arena and retry the same day.
- Not tracking the leader you beat. Without notes you may keep repeating Stavrogin while thinking you are progressing on Verkhovensky.
- Spending every burst before 50%. The shield shows up exactly when the team is out of resources.
- Sticking to physical damage. The barrier does not go down to physical hits; elemental application is required.
- Forgetting the Portable Waypoint. The third medal needs at least three visits on different days.
FAQ
Can you kill the Rowdy Beast Host before Fraternal Aid?
No. The game prevents the leader's death before 50% HP, even with a hit that would empty the whole bar. The shield phase is mandatory.
Do you really need three days to finish everything?
Yes, at minimum. Only one leader appears per daily cycle and the pick is random after reset, so it can take more than three days if the same Volkodlak returns.
Is the shield always Hydro?
No. If the leader is a Leomastiff type, the shield absorbs damage equal to 30% of max HP. Other types raise the 48-unit Hydro shield, vulnerable to the 1:4 ratio of Stellar reactions with Electro, Anemo and Cryo.
When does the boss respawn?
On the daily server reset at 04:00. It is not a 24-hour timer from the kill: if you beat the pack shortly before reset, you can return soon after.
With the right team and bursts saved for the shield window, the Rowdy Beast Host stops being a puzzle and becomes an execution check. Players already exploring Snezhnaya can also check all 11 Snezhnaya Viewpoint locations in 7.2 before heading back underground — and follow the other Local Legends in the games section of O Santuário Geek.
Sources: Sportskeeda, Game8, Alioth.wiki and HoYoverse's official Version 7.2 announcement.
Suggested and related articles
Genshin Impact 7.2: all 11 Snezhnaya Viewpoint locations
Genshin Impact: Where to Find the Shrines of Depths in Nod-Krai
Columbina in Genshin Impact: best teams and guide
Star Platinum in Stand Out: how to get Jotaro's chip
Ocarina of Time: Where To Find The Hookshot