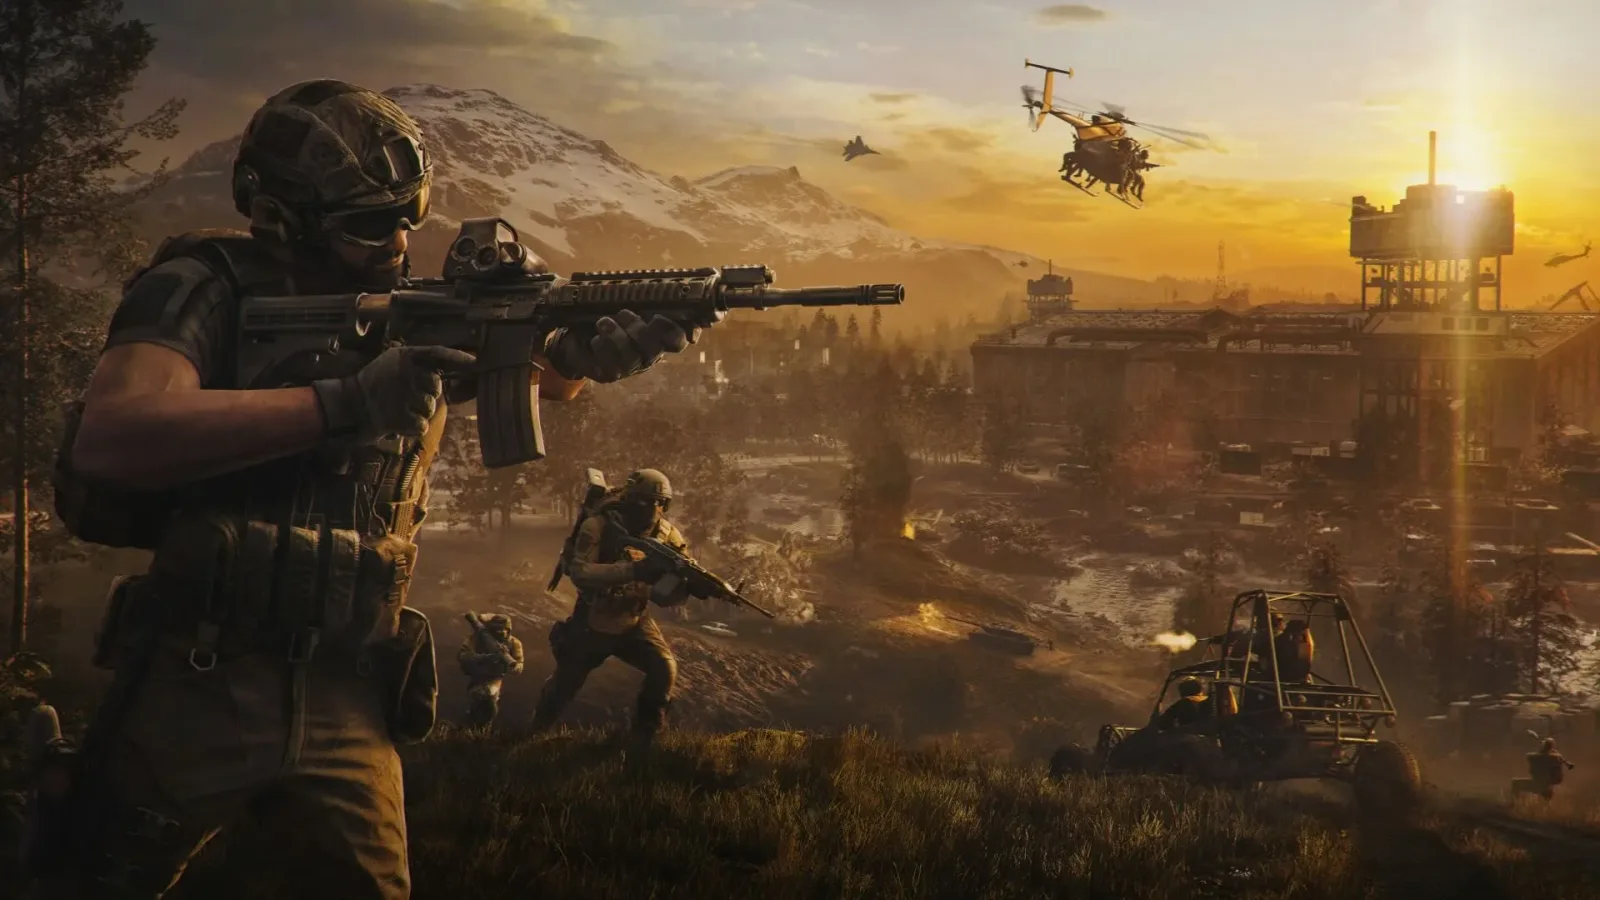
Mastering the mortar in Wardogs transforms the dynamics of any squad, providing devastating indirect fire support against fortified positions. The complex artillery interface punishes novice players who try to simply point and shoot without understanding ballistics. Hitting fortifications or entire platoons at long distances depends on map reading, elevation calculation, and proper management of the weapon's internal parameters.
How to build and operate the artillery structure
Before launching grenades at the opposing team, the squad needs to craft the piece in the scenario. Visit the merchant to acquire two essential items: a Large Hammer and the Mortar kit itself. Find a protected area, place the structure on the ground, and hammer for a few seconds until assembly is complete.
With the piece erected, press Enter to take control of firing. The primary movement of the barrel responds faster via keyboard using the WASD keys. The mouse also allows rotating the piece and applying optical zoom, although the peripheral's sensitivity is slower compared to directional commands. The compass in the mortar interface exactly mirrors the orientation ruler at the top of the player's screen, making it easier to set direction.
What changes in practice: calculating RNG and MILS
The ballistic display divides the fundamental controls into two side scales: RNG (range in meters) on the left and MILS (angular miliradians) on the right. The game's firing physics follows the classic artillery rule: the higher the barrel is elevated, the shorter the grenade's trajectory. Reducing the incline makes the projectile travel longer distances, respecting the weapon's 700-meter ceiling.
The equipment does not calculate distances automatically, requiring manual work from the operator. Open the tactical map, identify the enemy route, and mark the target. This marking creates a white diamond on the HUD that points the exact azimuth to rotate the barrel. Then, compare the map scale with your position to estimate the distance in meters and match the RNG with the equivalent MILS.
Impact adjustment and shot correction
After calibrating angle and direction, fire the first mortar. The graphics engine displays a camera with the impact animation exactly where the shell detonates. This visual confirmation indicates whether the mortar fell short of the enemy line or overshot the target.

Related Articles
 Gta
Gta
Rockstar Games and NoPixel V Complete Historic Los Santos Construction and Reveal the Grand Pixel Hotel & Casino with New Mechanics
Gta
Rockstar Games and NoPixel V Complete a Landmark Los Santos Project, Unveiling the Grand Pixel Hotel & Casino with New Mechanics
 Roblox
Complete guide to all Search for the Needle classes in Roblox with drop chances and fast farming abilities
 Roblox
Compartilhe suas ideias, teorias e impressões sobre esta matéria com a comunidade.